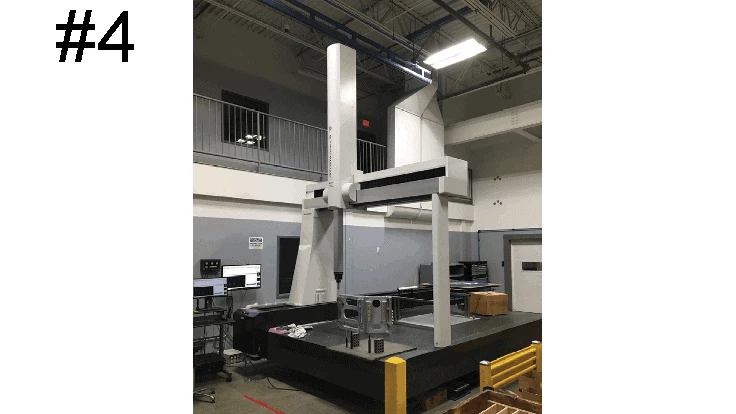
Mitutoyo/Schleifring Medical
It’s an 800 lb beast, a massive component with seven uniquely machined features. It arrives at Schleifring Medical Systems’ Elgin, Illinois, shop partially assembled, making it nearly impossible to get inside to measure for accuracy and range.
Operators had to use a crane to manually flip the component in multiple directions to measure all critical features and obtain the required dimensions. Not only did this slow the production process, it posed a significant safety concern for workers. Schleifring sought an alternate solution that would save time, streamline the process, ensure quality, and make production easier for its operators.
Industry partners
Schleifring considered portable measuring arms, laser applications, and bridge-type coordinate measuring machines (CMMs). Due to the part’s tolerancing, the company determined that a portable measuring arm wouldn’t be accurate enough or have the reach to meet requirements. And while laser measuring systems would have increased accuracy compared to portable measuring arms, the high cost of laser applications at the time made this option prohibitive.
Latest from Today's Medical Developments
- IMTS 2026 runs Sept. 14-19 at McCormick Place in Chicago, Illinois
- Master Bond’s MasterSil 800Med
- ZEISS celebrates 100 years of advancing innovation in the US
- Teleflex sells acute care and urology businesses for $2.03 billion
- HANNOVER MESSE: Where research and manufacturing meet
- What’s next for the design and manufacturing industry in 2026?
- Arcline to sell Medical Manufacturing Technologies to Perimeter Solutions
- Decline in German machine tool orders bottoming out


