
Total joint arthroplasties of the hip and knee are among the most successful surgical procedures of any specialty – with more than 500,000 implant operations performed annually in the United States. With the continued aging of the U.S. population, demand is likely to increase as this cost- effective procedure improves a patient’s quality of life and mobility.
Rising demand for development of orthopedic and cranial implants creates a great opportunity for additive manufacturing (AM), allowing doctors to custom-build devices for each patient’s physiology. With this opportunity comes an increased need for accurate testing of prototypes and finished products, since these medical implants and devices may play a critical role in the human body.
AM solves clear and persistent problems in orthopedics, allowing greater levels of customization. Medical equipment manufacturers are increasingly adopting metal AM technologies – direct metal laser sintering and electron beam melting – into the design and manufacturing of medical devices and implants.
However, parts built layer-by-layer cannot be disassembled and inspected like machined components. Inspecting critical features such as internal, sealed cavities, requires being able to see through metal walls. CT scanning is becoming the choice for NDT of medical implant products, producing complete, accurate information in the least amount of time.
Full body experience
The human body consists of more than 37 trillion cells, (100 billion are brain cells), 206 bones, and 340 joints. If that isn’t complex enough, imagine having to build and inspect an implant to replace one of those parts. The more intricate and complex the structure, the more difficult it can be to inspect, which can be challenge for busy manufacturing plants wanting to remain productive. This is where the power of computed tomography (CT) scanning comes in.
CT scanning is often the best solution for objects with complex shapes, because the non-contact technique doesn’t require line of sight to the region of interest – especially important when it comes to something as intricate as an implant.
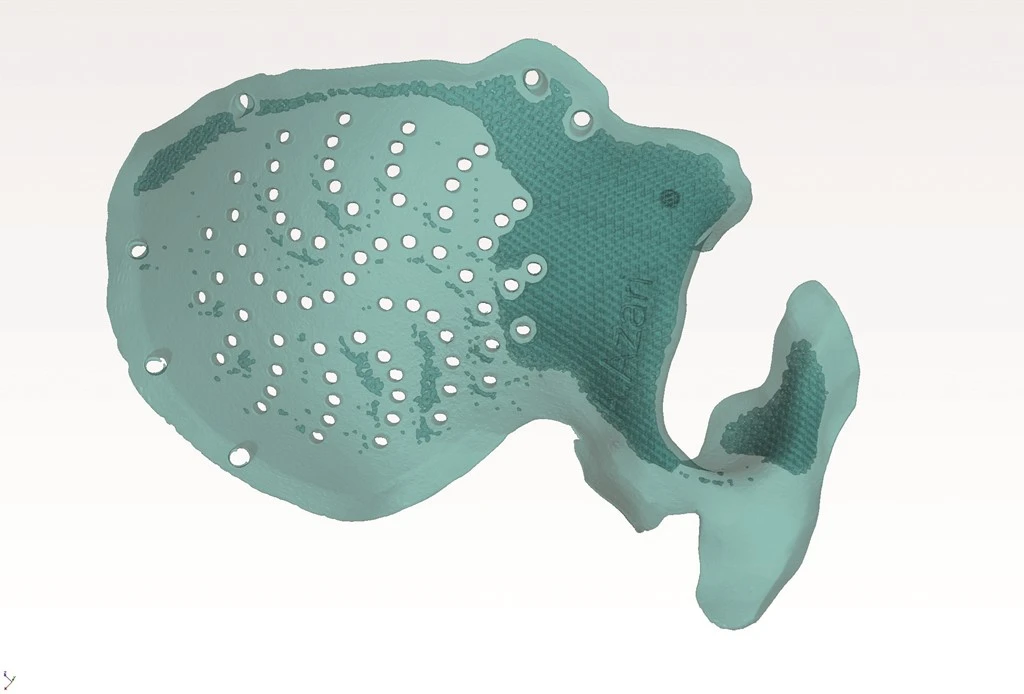
While no human body is exactly like another, implants must fit perfectly and be biocompatible. For example, a hip implant requires a very complex structure for bonding to the organic structure – osseointegration. 3D printing enables building these parts, but CT is the only way to look through the entire part, collect dimensional measurements using metrology, and detect flaws – impossible with light or contact metrology.
Today’s industrial CT scanners have advanced functional capabilities that provide valuable data for initial prototyping and optimizing production processes. They can detect potential part failures, even on larger parts, previously not possible because CT scanning techniques produce clear images that complement other methods. These images help manufacturers with needs ranging from comprehensive part fatigue and failure analysis to identification of small cracks and inconsistencies from part to part. Substrate bonding issues, uneven material flow, inclusions, and porosity indications can also be detected through trained interpretation of CT images.
Accuracy inspires confidence
CT scanning builds confidence in testing results by offering new methods for solving challenges in NDT techniques. The scan data makes it fast and easy to quickly identify issues, reducing development time and increasing productivity. Industrial CT scanning of medical devices allows internal structures to be viewed in their functioning position and analyzed without disassembly.
Industrial CT scanning software programs, compatible with other industrial CAD and medical imaging formats, allow advanced measurements to be taken from the CT dataset volume rendering. These measurements help determine clearances between assembled parts or simply a dimension of an individual feature.
Some challenges to traditional NDT inspection techniques, such as density variation, embedded features, organic geometry, dissimilar materials, and variable surface finishes, are detected and quantified by CT with ease. Users scan a device and detect features in less time.
CT scanning resolution delivers clear images that can detect the most minute flaws. Many scanners can provide resolutions down to 5µm to 10µm. Today’s CT software is easier to use, delivering improved workflow design and advanced protocols, making this NDT technique fast and accurate.
Cost-efficient results
CT screening can improve productivity by eliminating issues that could cause problems in post-production. Because parts are not destroyed during testing, it is also very cost-effective. CT scanners cost less than in the past, and many CT manufacturers have buy-back programs or have demo equipment available at reduced prices. Depending on the cost of current inspection requirements or scrap due to destructive tests, customers have been able to show a rapid return on investment in CT equipment.
CT inspection systems come in many different configurations, and a knowledgeable vendor can find the right choice for your quality, production, and budgetary needs.
From the microscopic details of a single part to the global vision that focuses on making the most of your applications, CT inspection offers spectacular views.

Explore the September 2018 Issue
Check out more from this issue and find your next story to read.
Latest from Today's Medical Developments
- Kistler offers service for piezoelectric force sensors and measuring chains
- Creaform’s Pro version of Scan-to-CAD Application Module
- Humanoid robots to become the next US-China battleground
- Air Turbine Technology’s Air Turbine Spindles 601 Series
- Copper nanoparticles could reduce infection risk of implanted medical device
- Renishaw's TEMPUS technology, RenAM 500 metal AM system
- #52 - Manufacturing Matters - Fall 2024 Aerospace Industry Outlook with Richard Aboulafia
- Tariffs threaten small business growth, increase costs across industries


